How to Incorporate Jelly Masks into a Facial Protocol
Jelly masks have become a consistent finishing step in many professional facial protocols—and for good reason. When properly formulated, they deliver intensive hydration, a soothing cooling effect, and a noticeable improvement in overall skin comfort prior to the application of final protective products.
However, timing and technique matter. If the mask is applied too early, too late, or left on for an inconsistent duration, the full recovery and hydration benefits may not be achieved to their full potential.
To achieve the desired result, it is important to understand how to properly integrate a jelly mask within a structured facial protocol. Working with professional-grade formulations, such as those developed by Luminous Skin Lab – Pro Line Series, supports consistency and performance in the treatment room, where precision at each step directly impacts the final outcome.

How do I incorporate jelly masks into a facial protocol?
Jelly masks are one of the final treatment steps in many professional facial protocols. After a peel, extraction, or the application of active serums, the mask creates a hydrating, occlusive layer. This is the point at which the active phase of the procedure is complete. At this stage, the skin needs support to absorb applied actives and restore balance. A jelly mask is always applied after cleansing and deeper treatment steps. It is important to consider the following:
- It is not recommended to apply the formula to unexfoliated, or unprepared skin.
- If the stratum corneum contains excess sebum, the mask may only provide surface-level hydration.
- On properly cleansed skin, the formula performs more effectively. It helps keep previously applied serums in contact with the skin, supporting better absorption and enhancing overall treatment results. This can elevate a standard facial into a more intensive, restorative treatment.
A jelly mask also serves as an important pause within the procedure. It separates the active stage (for example, extractions, after which redness may remain) from the final step, when the practitioner applies protective finishing products. The mask remains on the skin for several minutes, allowing time for the skin to calm and rebalance. As a result, clients often leave the treatment room with a more even, hydrated, and refreshed complexion.
For clarity, let us review several jelly mask facial protocol options based on the purpose of the treatment.
Integration of a Jelly Mask Depending on the Procedure Type
| Procedure Type | What the Jelly Mask Does | Recommended Option (Examples) |
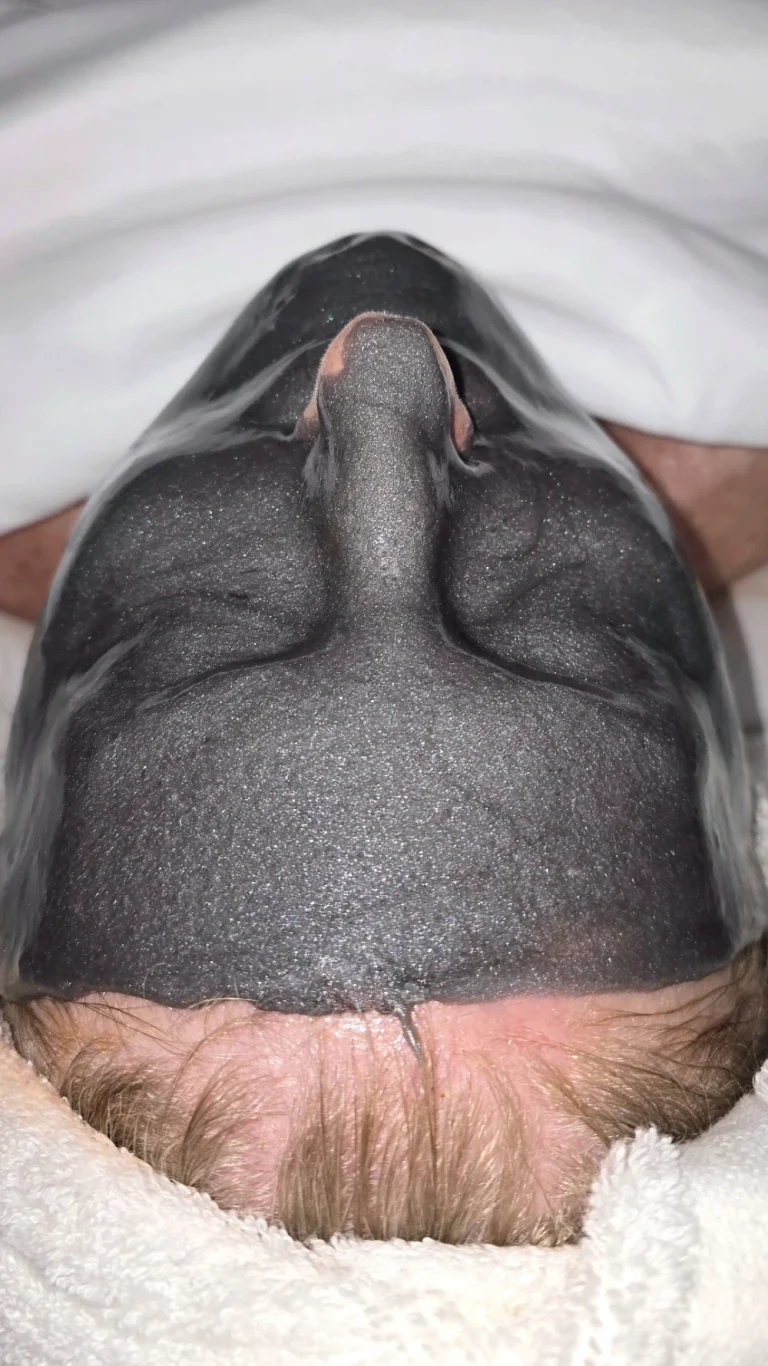
| Facial Extraction | Helps reduce post-extraction swelling while improving the appearance of pores. The formula also provides supportive antibacterial benefits. | Black Gold with Salicylic Jelly Mask |
| Chemical Peel | Supports barrier recovery, delivers deep hydration, and helps reduce post-treatment sensitivity and discomfort. | Skin Nourishing Ceramide Jelly Mask |
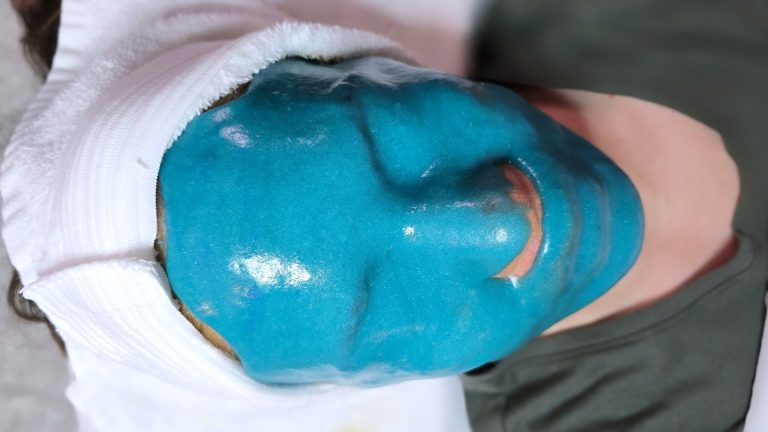
| Device-Based Treatments | Provides a cooling effect following thermal exposure and supports lymphatic drainage, helping to reduce fluid retention and improve overall skin appearance. | Epic Blue Glacier Jelly Mask |
| Hydrating Facial | Delivers intensive hydration while softening dry, dehydrated areas and improving overall skin comfort. | Hyaluronic Acid Jelly Mask |
The choice of a specific formula always depends on the treatment goal. In hydration-focused protocols, a Hyaluronic Acid Jelly Mask helps maintain moisture within the skin during the resting phase, supporting deeper, sustained hydration. When the skin is more sensitized following a peel, a Skin Nourishing Ceramide Jelly Mask helps restore comfort while supporting barrier integrity and recovery.
Tip! Jelly masks pair well with LED light therapy. Specialized formulas, such as the Luminous LED Light Jelly Mask are designed to allow optimal light transmission while helping protect the skin from dehydration. Apply the mask and place the client under the LED device for approximately 15 minutes. This approach can enhance the benefits of both treatments without extending overall treatment time.
How to use a jelly face mask?
It is important to follow proper technique when applying a professional jelly mask, as this directly affects client comfort during the procedure and how easily the mask can be removed. A standard protocol may look as follows:
- Preparation. Apply an active serum to cleansed, properly prepared skin. The mask will help enhance its performance. If desired, a small amount of balm may be applied to the eyebrows and hairline to prevent adherence.
- Application. This step is key. Spread the mixture quickly and evenly, using smooth, controlled movements. Apply from the décolleté upward along the massage lines. Hold the spatula at approximately a 45-degree angle, applying enough pressure to create an even layer about 2–3 mm thick. Avoid unnecessary pulling or stretching of the skin.
- Edge formation. Pay special attention to the perimeter of the face. Creating slightly thicker edges supports clean, one-piece removal and improves overall peel integrity.
- Completion. Allow the mask to set for approximately 15–20 minutes. Once fully set, gently lift the edges and remove the mask in one motion, working from the bottom upward.
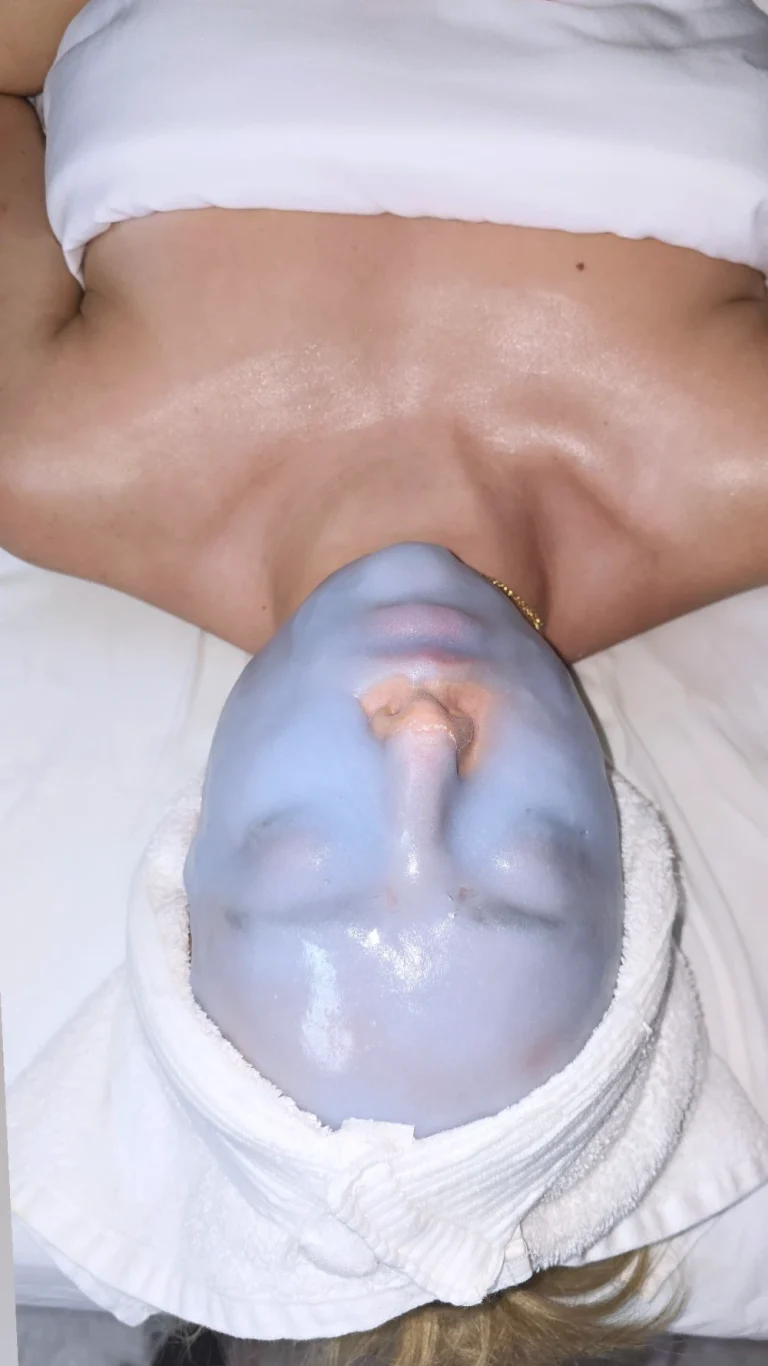
When applied correctly, the mask conforms closely to the skin, creating an occlusive environment that helps retain active ingredients. The reinforced edges allow for effortless removal, minimizing cleanup. The mask lifts off as a single sheet, leaving the skin visibly hydrated, calm, and refreshed.
Do you apply jelly mask over eyes and mouth?
Many professional jelly masks can be safely applied over the eye and lip areas. Full facial coverage, often referred to as a “full face” protocol, allows for more comprehensive treatment of areas that are often overlooked. However, it is important to confirm with the client beforehand, as application over the eyes and lips is always optional.
In particular:
- On closed eyelids, the jelly mask may help reduce puffiness and calm the eye area.
- On the lips, it helps relieve dryness, flaking, and improve overall hydration.
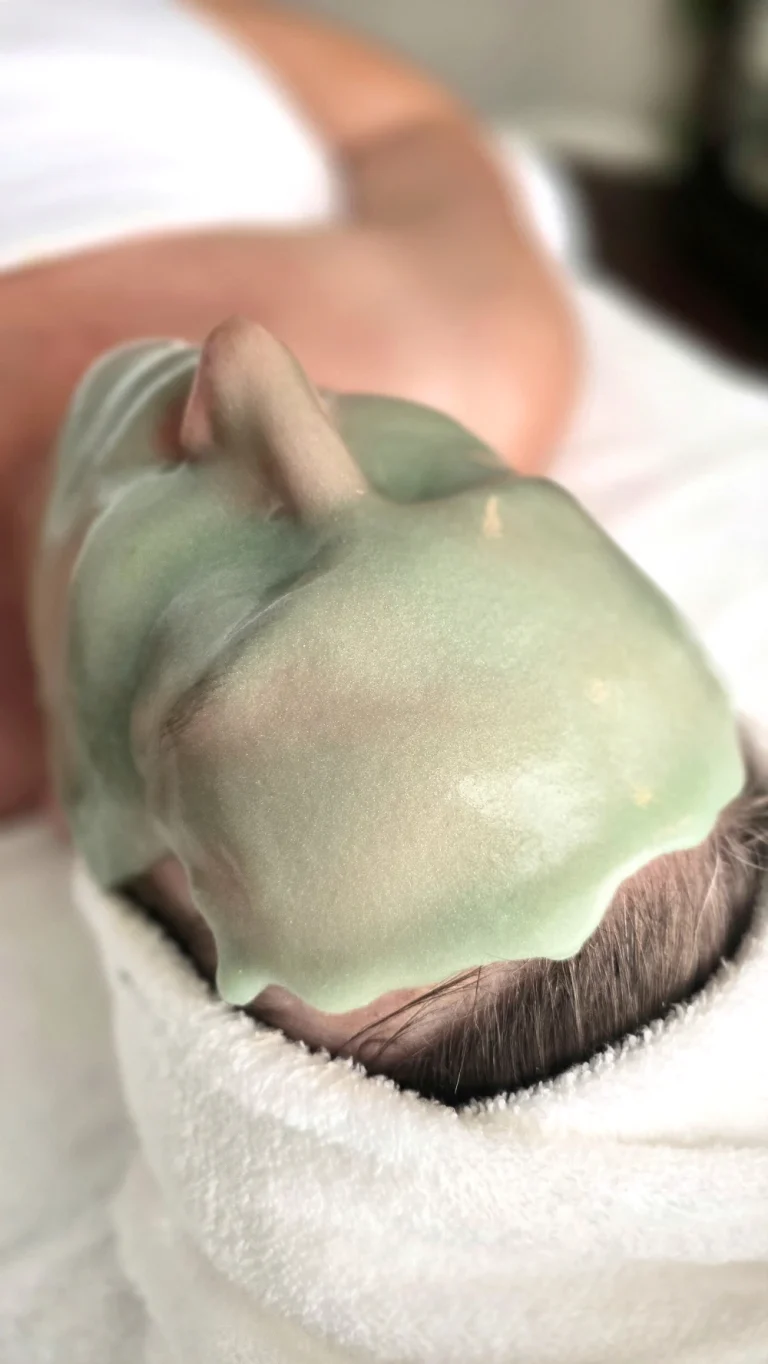
For this purpose, soothing formulations are typically preferred, such as Green Tea Matcha Jelly Mask. These formulas are often applied closer to the eye area during treatments for sensitive or redness-prone skin.
When the “Full Face” Jelly Mask Protocol Should Be Avoided
Despite its benefits, the “Full Face” protocol is not appropriate for every client. There are situations where the eyes or mouth should remain uncovered:
- Claustrophobia. Clients who feel uncomfortable with full facial coverage or enclosed sensations.
- Breathing difficulties. Nasal congestion, cold symptoms, or coughing may make full coverage unsuitable.
- Eyelash extensions. The weight of the mask or removal process may cause discomfort or disrupt extensions.
- Sensitivity to pressure. Some clients may experience discomfort even with light pressure on the eyelids.
Always ensure the nostrils remain fully unobstructed. Before applying the mask over the eyes or lips, clearly explain the process and obtain the client’s consent.
Tip! For full-face coverage, apply the mask toward the end of the application process. Begin with the forehead, cheeks, and chin, then apply to the eyes and mouth last. This approach helps minimize any sense of anxiety and allows the client to feel that the treatment is nearly complete, with only a short resting period remaining.
Can jelly masks help with wrinkles?
Jelly masks do not replace advanced procedures such as injectables or deep chemical peels. However, they play an important supportive role in anti-aging protocols. Rather than acting as a corrective treatment, they help create the optimal conditions for the skin to appear smoother, more hydrated, and balanced.
Through intensive hydration, the skin may appear more plump and refined, which can soften the look of fine lines. A mild tightening effect may also be observed, supported by two factors:
- light, even pressure as the mask sets
- a gentle cooling effect that helps reduce puffiness
How does this work in practice? The mask creates a light, supportive layer that helps hold the skin in place during the setting phase. This can contribute to reduced muscle tension and support lymphatic movement. The effect is often most noticeable in fine expression lines, which are frequently associated with dehydration. When the skin receives intensive hydration, the surface appears smoother and more even.
Careful formula selection is essential. Anti-aging protocols benefit from formulations that support skin renewal, regeneration, and overall firmness. For example, 24K Gold Jelly Mask is often selected to enhance the appearance of skin vitality and firmness, while an Egyptian Rose Jelly Mask is well suited for clients experiencing dullness and early signs of aging. In addition to providing hydration, it helps restore a more radiant, balanced complexion, making age-related changes less visible.
With consistent use, incorporating alginate-based jelly masks into treatment protocols can help support skin elasticity and improve overall skin quality, contributing to a softer appearance of fine lines over time.
Do I need to apply gauze with a jelly mask?
Gauze can be used under a jelly mask, but it is not always necessary. In many cases, direct application to the skin is preferred. However, there are situations where gauze may be beneficial. For example, if the client has noticeable facial vellus hair, the mask may adhere more firmly to the hair, which can cause discomfort during removal. In these cases, gauze can help minimize sensitivity and improve overall comfort.
At the same time, applying the mask directly to the skin is generally more effective in terms of performance:
- When the formula is in direct contact with the skin, active ingredients can work more effectively.
- The use of gauze may create a slight barrier, reducing adhesion and limiting the intensity of hydration.
Tip! If using a gauze base, proper preparation is important. The gauze should be dry and have openings large enough to allow portions of the mask to pass through, maintaining partial contact with the skin. It is also important to smooth the material carefully, avoiding folds or creases that may leave temporary marks after removal.
In some cases, it is preferable to avoid using gauze. Professional application techniques should always be adapted to the client’s needs. For example, Comprehensive Aftercare Jelly Mask is most often applied directly to the skin, as this supports optimal calming and barrier recovery following more intensive procedures. Direct contact allows electrolytes and active ingredients to perform more effectively on compromised areas.
The decision to use gauze ultimately depends on the practitioner’s approach and the specific treatment goal. When working with reactive skin or performing intensive recovery treatments, direct application typically delivers better results. In contrast, gauze may be used when efficiency is a priority, as it can help simplify removal and reduce cleanup time.
What happens if you leave a jelly face mask on for too long?
Proper timing is essential for optimal performance. For most professional alginate masks, the recommended exposure time is approximately 15–20 minutes. This allows the mask to fully set into a flexible layer while supporting effective hydration and serum absorption.
If the mask is left on for too long, the results may not meet expectations, and client comfort may be affected:
- First, the edges of the mask may begin to dry out, making clean, one-piece removal more difficult. The mask can start to crumble or adhere unevenly to the skin.
- Second, an overly dry mask may create a feeling of tightness or discomfort.
In general, there is no added benefit to extending the application time. In this case, longer does not mean better.
How to mix jelly masks for best results?
The texture of the mask plays a key role in the overall outcome of the treatment. It affects how evenly the mixture spreads across the skin and how easily the mask can be removed. For this reason, proper mixing technique is essential.
It is important to keep in mind that this is a fast-setting reaction, so timing and efficiency are critical.
The following guidelines help ensure consistent, professional results:
- Add water first, then powder. This helps prevent dry powder from settling at the bottom of the bowl and improves overall consistency.
- Use room-temperature water. Water that is too cold can slow the activation process, while water that is too warm may cause the mask to set too quickly, reducing working time.
- Mix thoroughly. Aim for a thick, smooth consistency without lumps. A rubber spatula works well—use firm, quick movements to press the mixture against the sides of the bowl for approximately 30–45 seconds.
- Work quickly. You have about 2–3 minutes before the mask begins to set.
- Begin application immediately. Once the mixture reaches a uniform consistency, apply without delay to ensure even coverage and optimal performance.
The importance of proper mixing is especially noticeable with cooling formulas such as Epic Blue Glacier Jelly Mask. When prepared correctly, the mask demonstrates excellent flexibility, spreads evenly across the skin, and sets into a smooth, cohesive sheet that removes cleanly without tearing.
To support beginner estheticians, we have included a reference table outlining common mixing issues and how to correct them during preparation.
How to Avoid Mistakes When Mixing
| Symptom | Likely Cause | Solution |
| Many lumps | Slow mixing or pouring water into the powder | Mix quickly and thoroughly, pressing the mixture against the sides of the bowl with a spatula. Always add the powder to the water to ensure a smooth, consistent texture. |
| Too liquid (runs off) | Excess water | Follow the recommended ratio closely. If the mixture has not begun to set, add a small amount of powder and mix thoroughly to achieve a thicker consistency. |
| Sets in the bowl | Water is too warm or mixing takes too long | Use cool, room-temperature water and begin application immediately after mixing to prevent premature setting. |
| Mask tears during removal | Layer is too thin | Apply a consistent layer approximately 2–3 mm thick and build a slightly thicker edge (rim) to support clean, one-piece removal. |
What is the ratio of jelly mask to water?
Most professional formulas follow a general guideline of approximately 1.5 parts powder to 1 part water.
In practice, weight is more accurate than volume, as powder density can vary depending on the formulation. For example, masks containing heavier ingredients such as gold or clay will weigh more at the same volume. For this reason, using a scale provides more consistent results.
Water quality also plays a role. Hard tap water may accelerate the setting process, reducing working time. To maintain better control and consistency, many professionals prefer using distilled or purified water. The correct ratio ensures the mask remains workable during application, sets evenly, and removes cleanly without running or breaking.
FAQ
In a professional setting, a jelly mask is typically applied once per session as the final step of the treatment. For at-home use, an optimal frequency is 1–2 times per week to help maintain hydration and overall skin balance.
Yes, but it is important to understand the mechanism. Jelly masks work through intensive occlusion and deep hydration, helping to replenish moisture within the skin. This can visibly soften fine lines associated with dryness. With regular use, they also support skin elasticity, contributing to the prevention of more pronounced age-related changes over time.
Yes, a high-quality professional jelly mask sets into a single, flexible sheet when properly mixed and applied. If the mask tears or crumbles, it is important to review the mixing ratio and application thickness. Creating a slightly thicker edge around the perimeter of the face supports clean, one-piece removal.
The recommended application time is 15–20 minutes. During this period, the formula fully sets, allowing the skin to absorb the active components applied underneath. Leaving the mask on longer does not increase effectiveness and may cause the edges to dry out, making removal more difficult.